Marshmallow not connecting to PC
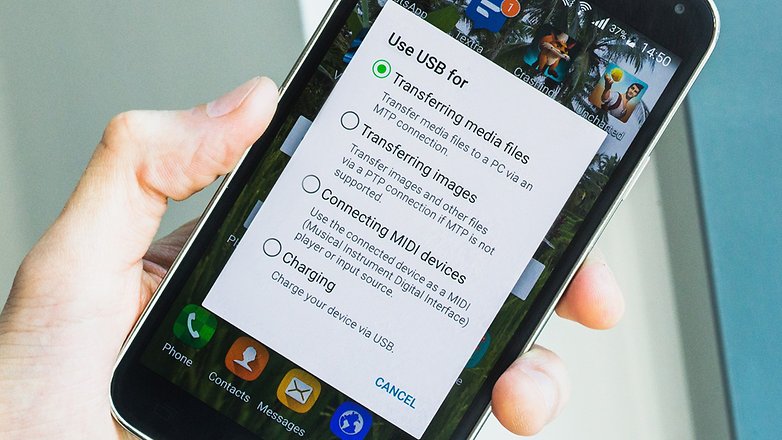
If you're having Marshmallow USB connectivity issues, it's most likely because you haven't selected the right option on your phone's software. By default, the device will likely be set to USB charging mode, meaning you won't be able to access your files.
When you plug your device into your PC over USB, a notification will appear saying Connected for charging. Press on this and you will be presented with four options. The one you're most likely to want is Transferring media files (MTP). This will let you copy files to and from your device via USB. Transferring images (PTP) is your backup option, in the event that MTP is not supported. PTP will make your computer think you've attached a digital camera, allowing for the automated transfer of media files.
Marshmallow Wi-Fi battery drain
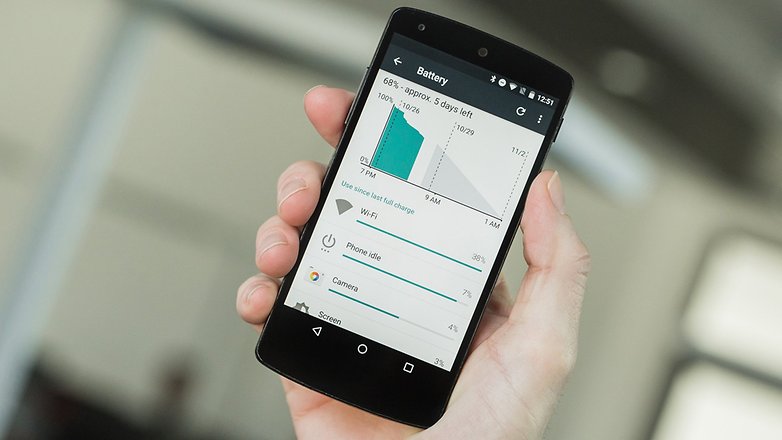
This is an interesting problem, mostly because it is a case of the boy who called wolf. A lot of Marshmallow users have been posting screenshots of their battery usage page, which show Wi-Fi to be the biggest battery drain on Marshmallow. In many cases, that's just false reporting, and the device's battery life is actually unaffected by Wi-Fi, but some other users are seeing the same data and it is affecting their battery.
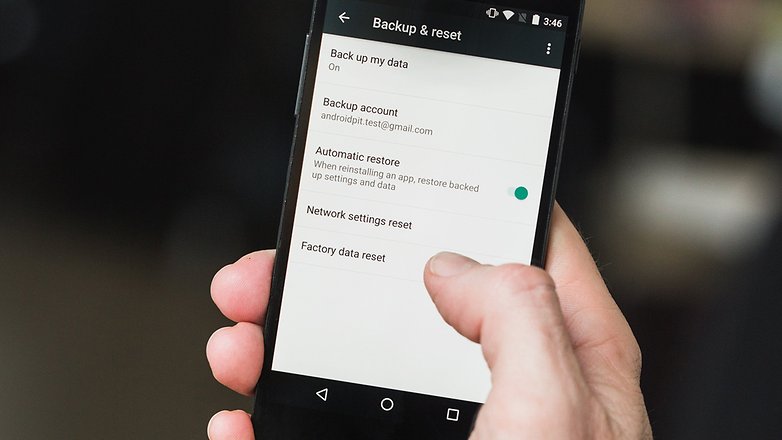
Several solutions have been suggested for this Marshmallow problem. The first is to go to Settings > Backup and reset > Network settings reset to clear all your connection data. This includes Bluetooth and cellular data, so you'll need to reconfigure everything afterwards.
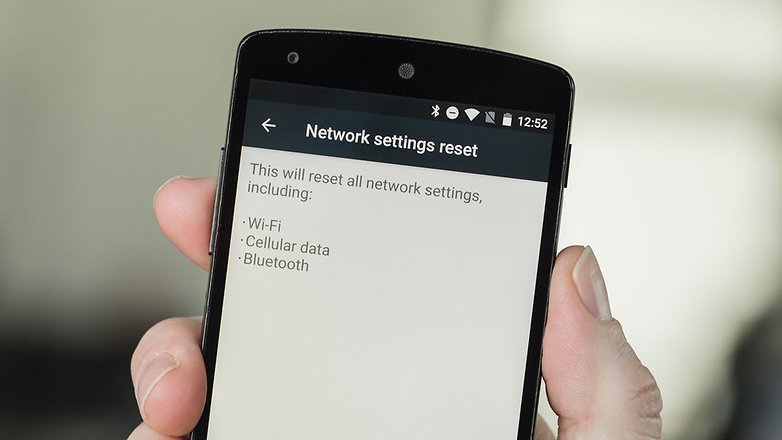
You can also try disabling Wi-Fi scanning in Settings > Location > Scanning (via overflow menu). This function can be scanning in the background even if you have turned Wi-Fi itself off. Other people have had success simply by going to Settings > Location > Mode > Battery saving.
Some extremists have suggested a full factory reset, followed by flashing the factory image, followed by another reset through recovery. Others are factory resetting and starting a fresh install (ie not using Tap & Go to set up your old device) and then reconnecting to Wi-Fi. Personally, I recommend figuring out whether what you're experiencing is bad reporting or a real problem before you attempt any of these fixes.
General Marshmallow battery drain
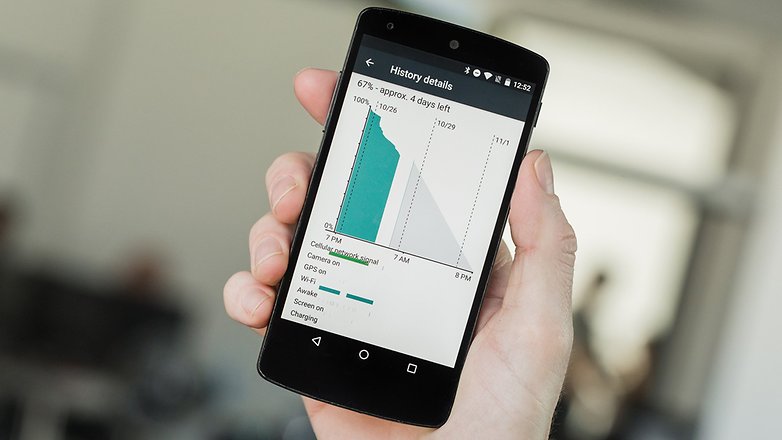
Besides mysterious battery drain there's also legitimate battery drain, a staple of Android updates since time immemorial. Well, since 2009 anyway. The quickest solution to fix battery drain following an Android update is to update your apps (so that they are compatible with the new Android version) and then wipe the app and system caches to clear out old data.
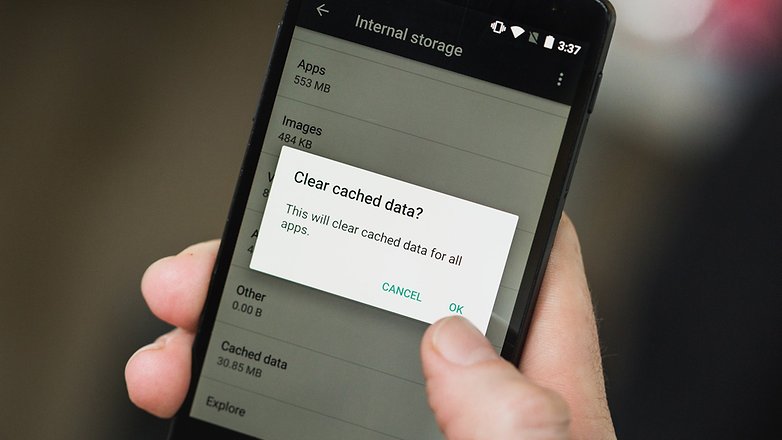
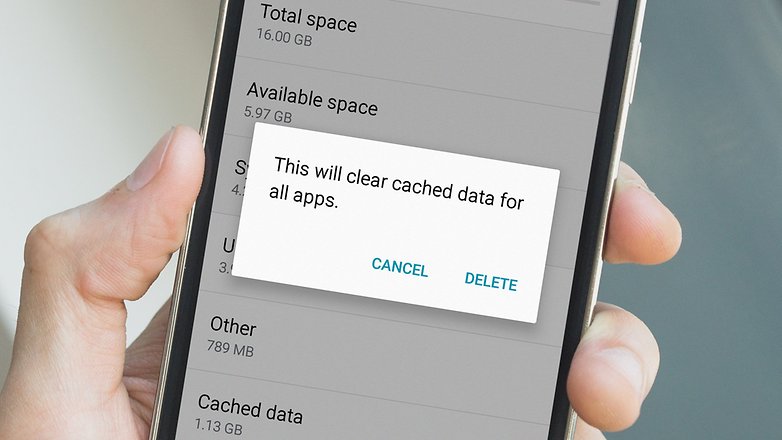
You can clear app caches individually or as a whole by taking the following routes: to clear them individually, go to Settings > Apps > select app > Storage > Clear cache; to clear all app caches simultaneously, go to Settings > Storage and USB > Cached data > OK.
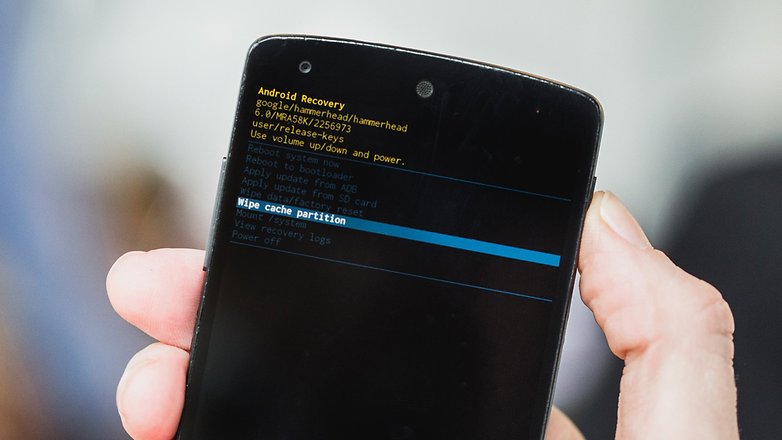
To clear the system cache, turn your phone or tablet off and then press Power and Volume Down until you see the Fastboot menu. Use the volume buttons to highlight Recovery and press the Power button to select it. If you see the robot on its back, hold Power and press Volume Up once to access the recovery menu. Use the volume buttons to select Wipe cache partition and press Power to confirm. Once you've wiped the system cache, you can reboot and your battery drain problem should be solved.
If your battery drain still persists after clearing the caches, the only step remaining is to factory reset your phone. First, back up everything on your Android and make sure all of your important files are safe. Then, go to Settings > Backup and reset > Factory data reset > Reset phone > Erase everything. If the problem continues even after rebooting and restoring your data, try to re-flash the Marshmallow firmware. See our guide on how to manually install Android Marshmallow for guidance.
Marshmallow installation problems
If your phone hangs up during the installation of Marshmallow, the best option is to wait. Sometimes the first boot after an update takes a long time. If it's still hung up a long time later, you can wipe the system cache through Recovery mode, using the steps outlined above. Restart and attempt installation again. If the same things happens, you'll have to back up your data and factory reset before trying to update again.
Marshmallow Wi-Fi connectivity issues
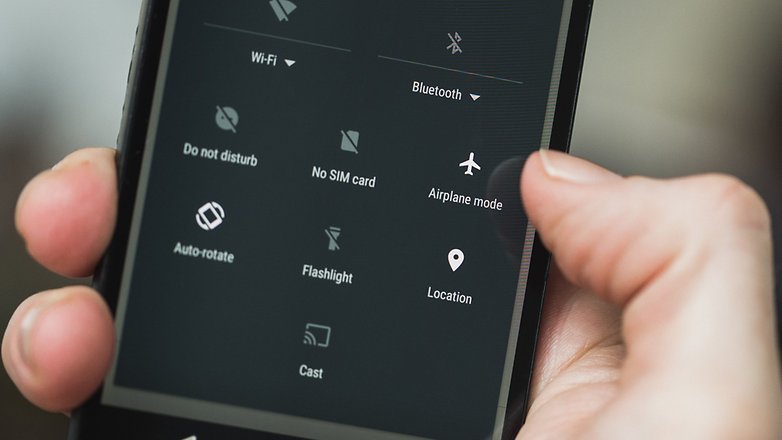
If you're getting spotty Wi-Fi connectivity on Android Marshmallow, there are a few things you can do. First, try toggling Airplane Mode on and off. If that doesn't work, turn off Wi-Fi, reboot your phone and turn it back on. Next, forget the connection and reconnect to it. Finally, go to Settings > Backup and reset > Network settings reset.
Marshmallow stability and performance issues
Not all updates are perfectly stable in the early days. That's why Nexus folk get them first, so they can find the bugs and report back to HQ before everyone else gets them. That's not really true, but hopefully it makes early adopters feel like they're performing a public service when dealing with new update problems on Android.
If you find that your version of Marshmallow is unstable – random reboots, app crashes, glitches and stutters, strange behavior and so on – then you have a couple of options. Simply turning your phone off for a minute before restarting it might fix the issue. The next step is to try to identify the issue, to see whether it's app-related or caused by the system itself.
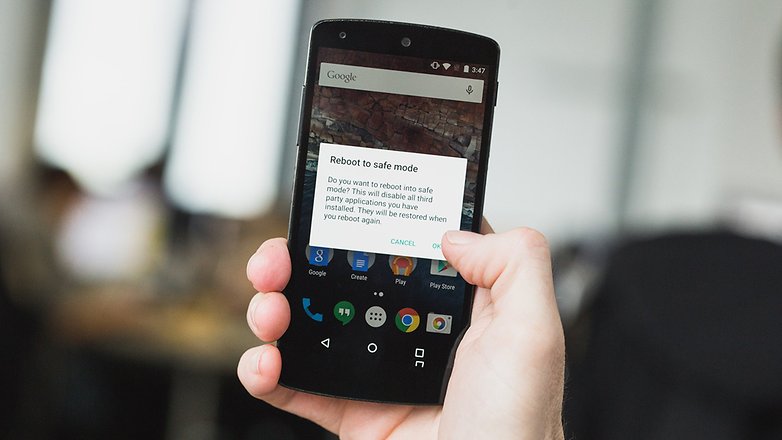
To identify a problematic app, boot into safe mode, by holding down the Power button and then long-pressing Power off. Safe mode disables all apps you've installed so you can assess whether the core system apps are functioning normally. If they are, then one of your installed apps is the problem and you should try systematically uninstalling them one at a time to find the culprit.
If Marshmallow is unstable even in safe mode, then it's an OS problem, not an app problem. You can try clearing the system cache by following the steps outlined in the Battery Drain section above and, if that still hasn't fixed your problem, your last resort is to back up your data and factory reset your phone (also covered above).
Marshmallow charging problems
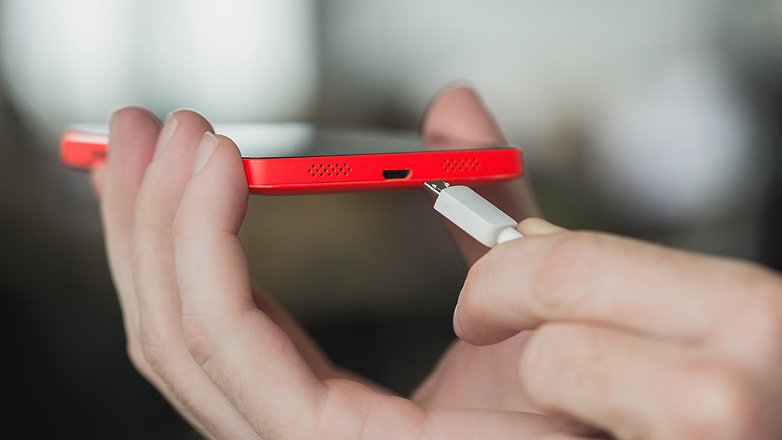
Despite Marshmallow's new USB charging standards, Android 6.0 charging problems seem pretty common, from devices that drain faster than they charge to phones that simply won't charge at all. Marshmallow is making users earn the battery benefits of its Doze mode and app standby. Google's official solution to a phone that won't charge on Marshmallow is a factory reset, the instructions for this can be found above.
Marshmallow mobile data problems
If your connection to mobile data behaves strangely after the update, try toggling airplane mode on and off, and then doing the same with mobile data in the quick settings. If this still doesn't work, turn your phone off for a minute and then restart it, at which point you'll be asked to re-enter your SIM pin code.
If that still doesn't work you can try removing the SIM card entirely and then reinserting it. If all else fails, contact your carrier to see if there are any known Android Marshmallow problems on your network.
Marshmallow not connecting to PC
If you're having Marshmallow USB connectivity issues, it's most likely because you haven't selected the right option on your phone's software. By default, the device will likely be set to USB charging mode, meaning you won't be able to access your files.
When you plug your device into your PC over USB, a notification will appear saying Connected for charging. Press on this and you will be presented with four options. The one you're most likely to want is Transferring media files (MTP). This will let you copy files to and from your device via USB. Transferring images (PTP) is your backup option, in the event that MTP is not supported. PTP will make your computer think you've attached a digital camera, allowing for the automated transfer of media files.

Marshmallow 'insufficient storage available' message
If you're being told there's not enough storage space on Marshmallow, it might be related to your SD card. Although Marshmallow now allows SD cards to be formatted as internal memory, there are still apps that cannot be stored on the SD card. Head to Settings > Apps. Here, you can press on any app and then tap Storage > Change and select SDCARD. If the SD card option doesn't appear, it's because the app cannot be stored there and must remain on your actual internal storage.
If this isn't the problem, then you need to make some space on your device's internal memory another way. Clearing app caches is a good place to start. Some devices allow mass cache clearing. Head to Settings > Storage. If you see Cached data here, press it and then press Delete in the dialogue box that appears. If you don't see this option, you will have to go the manual route. Head to Settings > Apps / Application manager and press on any app. Then, select Storage and press Clear cache. You will need to go down your list of apps and clear the cache on as many as you can before you succumb to mind-numbing boredom.
Once you've cleared out your caches, there will hopefully be considerably more space. If you still need more, you will have to start uninstalling apps and deleting media. Make sure you backup any files you wish to keep for later, though.
0 comments:
Post a Comment